Creativity / Grade 4
Notice the space around shapes
Learning goal: Name a subject, compare the spaces around and between its parts, and use a shared edge to plan a drawing.
Before you start: Recognize a subject and describe inside, outside and between. Drawing materials are optional.
Read or print this lesson What to practiceThe video could not load. The transcript is still available below.
Next: your worksheet
Notice the Space around a Shape
Checking sign-in...
Read the transcript
Saved reading place
Video transcript and practice. Reading or printing does not count as playback time or an assessed grade.
1. Look at the spaces, too
Video: 0:00
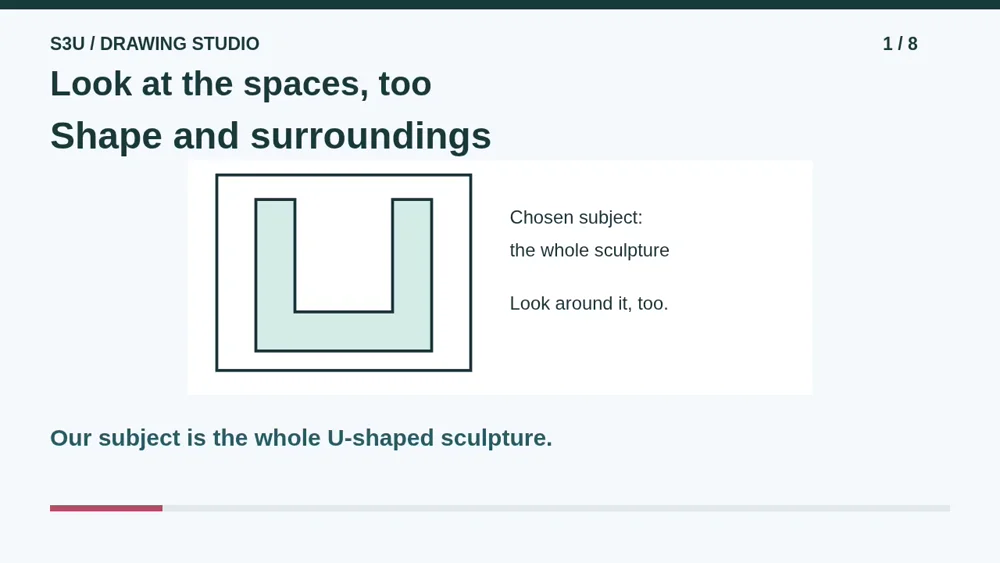
Here is an invented sculpture shaped like the letter U. We can draw its solid parts, but we can also look at the spaces around and between them. Today we will use both views. You can draw, point, or describe what you notice. There is no single required art style.
2. Name the subject first
Video: 0:21
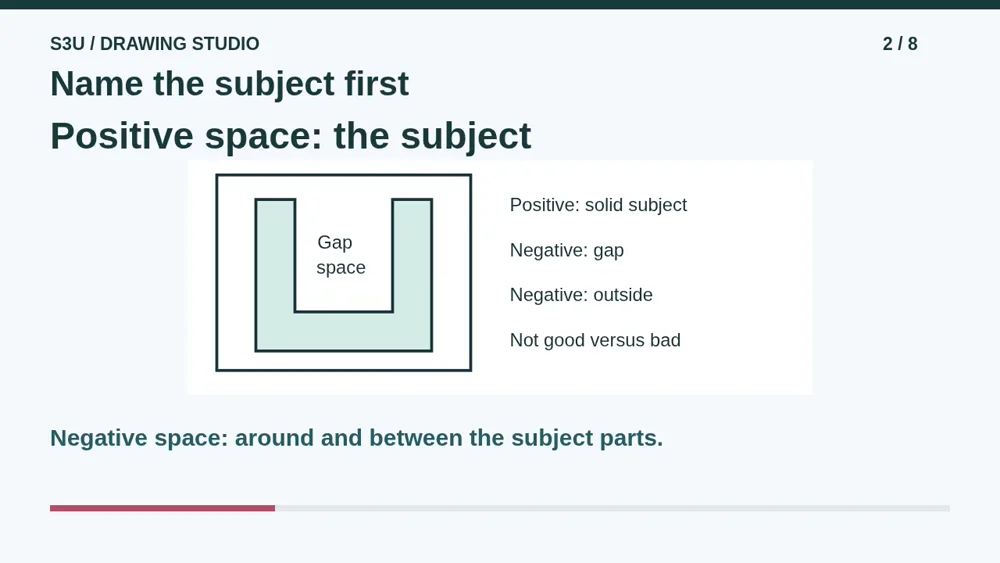
Choose the whole sculpture as our subject. Its solid arms and bottom bar are positive space. The open gap between its arms is negative space. The area outside it is negative space, too. Positive does not mean good, and negative does not mean bad. These words describe parts of this picture.
3. Trace a shared edge
Video: 0:45
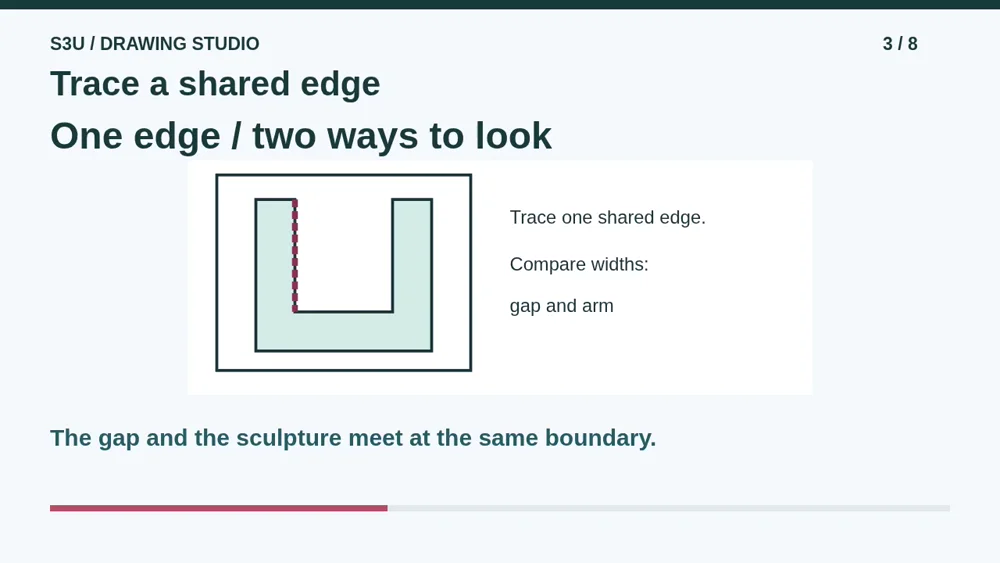
Look at the inner edge of the left arm. It is also the left edge of the gap. Trace that boundary with a finger in the air. Now compare the width of the gap with the width of an arm. Looking at a space can help you notice a shape you might otherwise overlook.
4. Color is not the rule
Video: 1:05
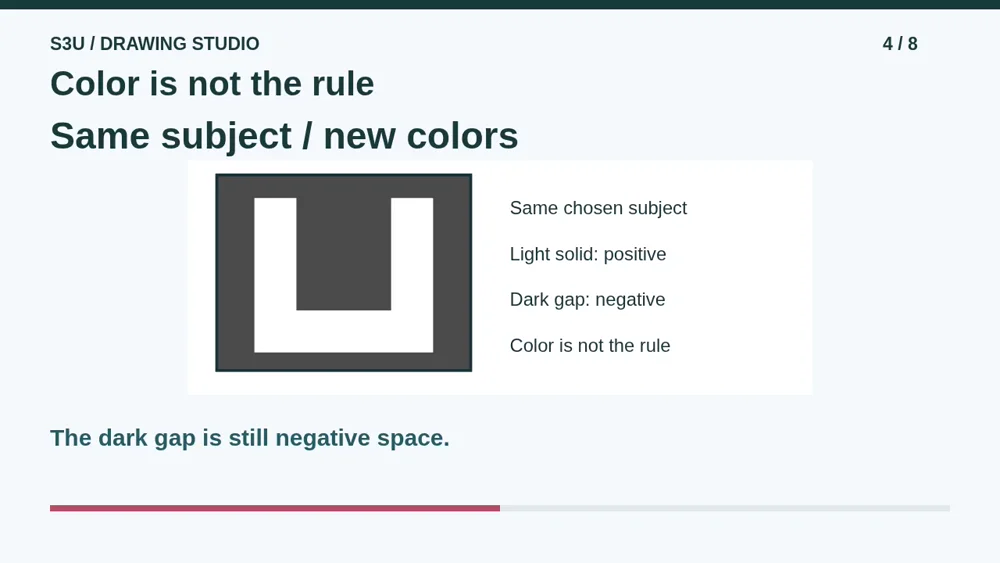
Now the sculpture is light and the surroundings are dark. Our chosen subject has not changed. Its light arms are still positive space. The dark gap is still negative space. Negative space does not have to be white, empty of ink, or a hole cut through your paper.
5. Pause: two block subjects
Video: 1:26
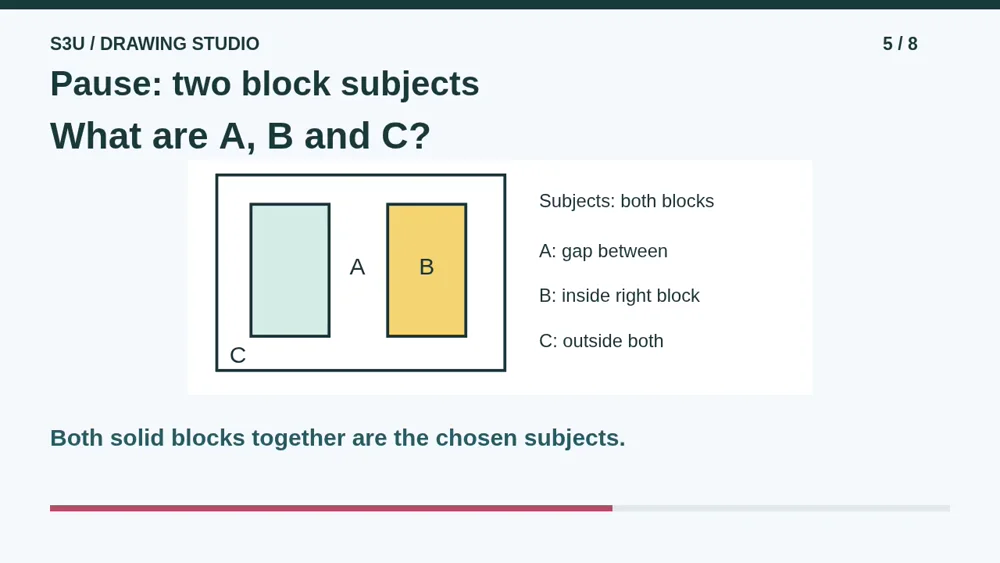
Pause for a new picture. This time both solid blocks together are our chosen subjects. A marks the gap between them. B marks the inside of the right block. C marks the space outside both. Which marks show positive space, and which show negative space? Explain your choice using the subjects, not their colors.
6. Check the marked spaces
Video: 1:51
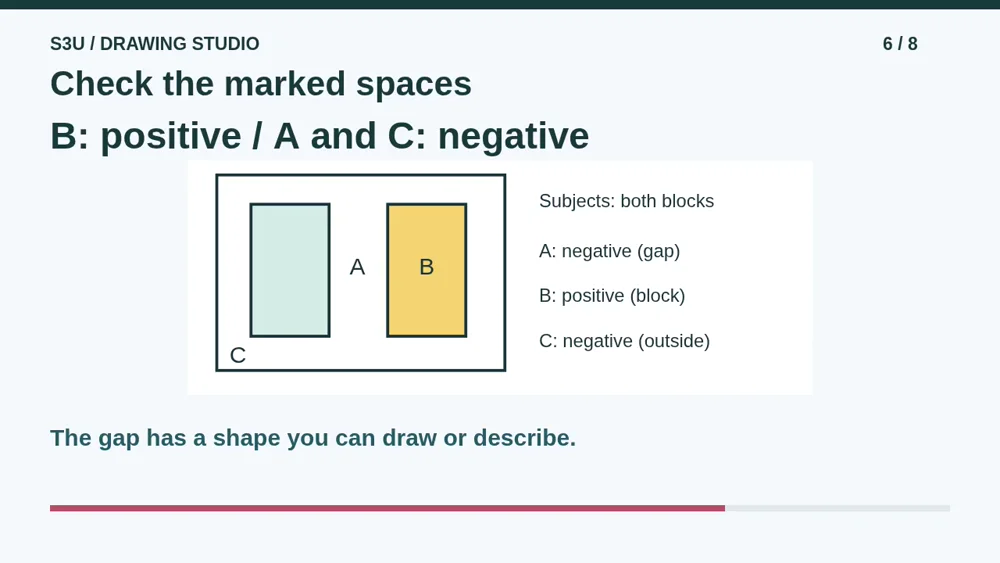
B is positive space because it is inside one of our chosen blocks. A and C are negative space: one lies between the blocks and the other outside them. Notice the tall, narrow shape of the gap. You could sketch that gap first, then use its sides to help place the blocks.
7. A space can do some work
Video: 2:12
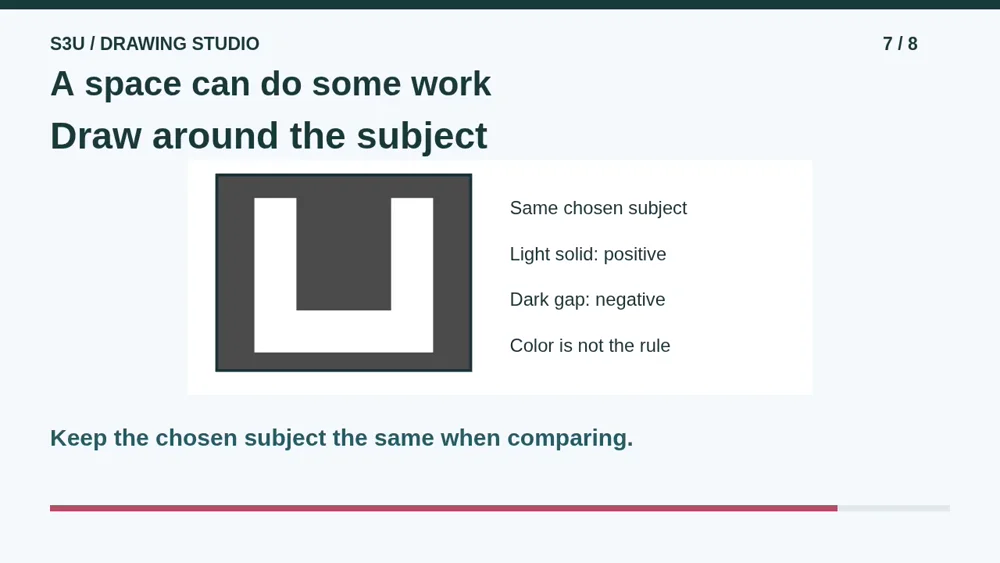
Fun fact: you can make a subject stand out by coloring its surroundings and leaving the subject itself uncolored. The sculpture has not vanished; your marks describe its boundary from the other side. That is quite a lot of drawing for a patch of paper that never picked up a pencil.
8. Try a space-first drawing
Video: 2:32
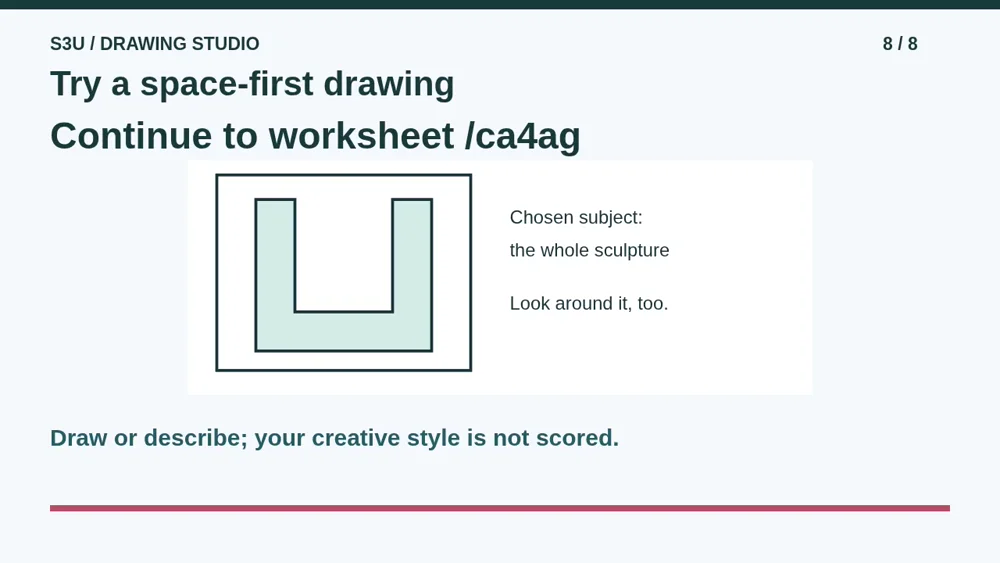
Continue to the worksheet below for different objects and spaces. Then choose an invented simple shape. Draw it once by marking the subject and again by marking the surroundings. Compare one shared boundary. You may explain the two plans instead of drawing them. The creative task is optional, and no upload is needed.
Show your understanding
You can point, explain aloud, draw or write.
- Distinguish positive and negative space relative to a chosen subject, without using color as the deciding rule.
- Explain how one boundary belongs to both the subject and a surrounding space, then plan an optional original drawing.
Try it yourself
Pause at the two blocks. Classify A, B and C relative to the chosen subjects, then explain one shared boundary.
Continue to the worksheet and try an optional space-first drawing or spoken plan. Artistic style is not scored; no upload is needed.
Next: your worksheet
Notice the Space around a Shapehttps://s3u.com/ca4ag
Lesson: https://s3u.com/lessons/space-around-shapes