Creativity / Grade 6
Draw with light, dark and overlap
Learning goal: Use a three-value plan and hidden edges to explain depth in a simplified drawing.
Before you start: Recognize light and dark regions and use upper-left and upper-right directions. Drawing materials are optional.
Read or print this lesson What to practiceThe video could not load. The transcript is still available below.
Next: your worksheet
Use Value and Overlap for Depth
Checking sign-in...
Read the transcript
Saved reading place
Video transcript and practice. Reading or printing does not count as playback time or an assessed grade.
1. Two clues for depth
Video: 0:00
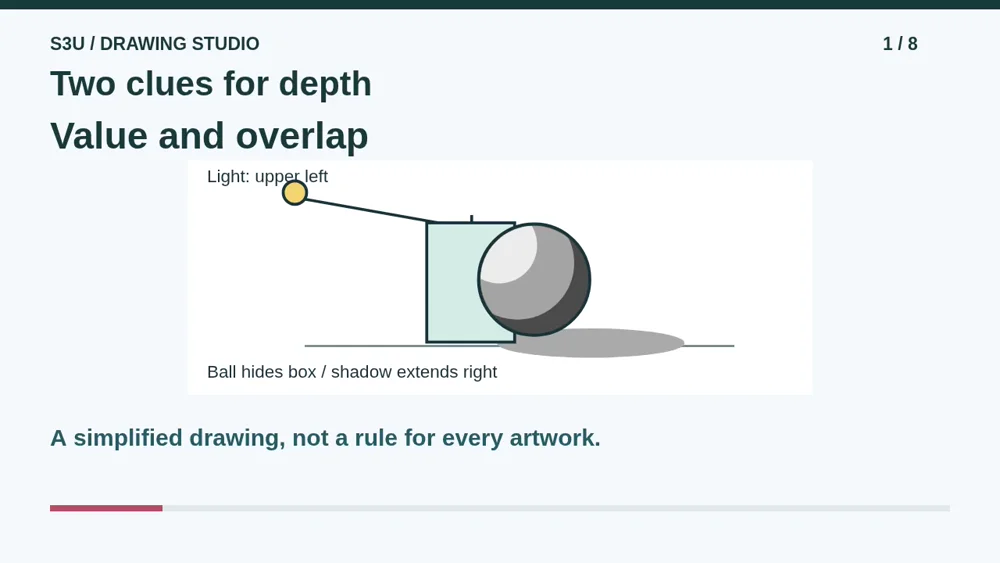
How can a flat drawing suggest depth? We will try two clues: value and overlap. Value means how light or dark a region looks. Overlap means one opaque shape hides part of another. Our example is a simplified ball and box, not a rule that all artwork must look realistic.
2. Make a three-value plan
Video: 0:23
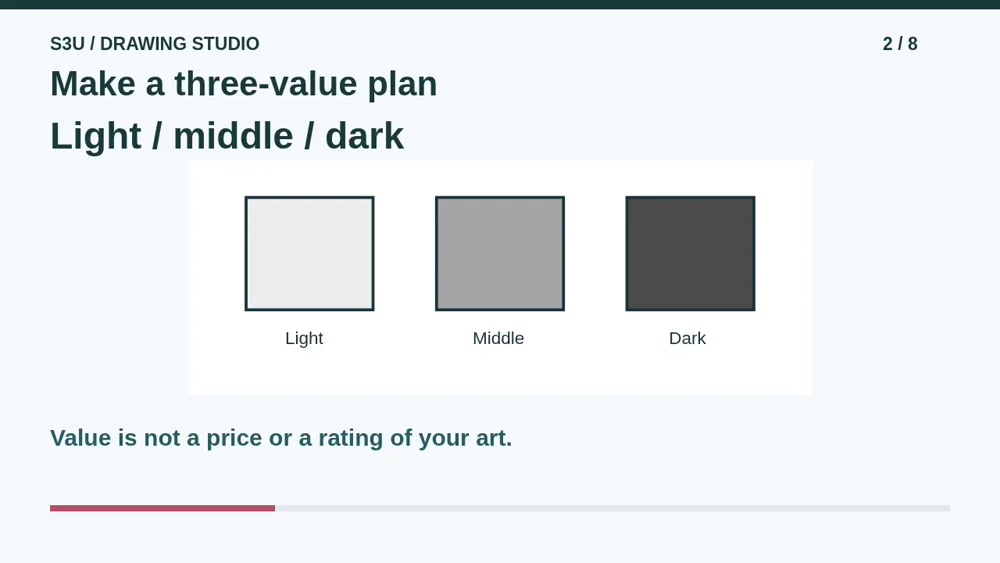
Make three patches with a pencil: light, middle, and dark. Leave more paper showing in the light patch and add more pencil marks in the dark one. Compare the patches beside each other. Here, value describes lightness. It does not mean how much your drawing costs or how good it is.
3. Choose where the light comes from
Video: 0:45
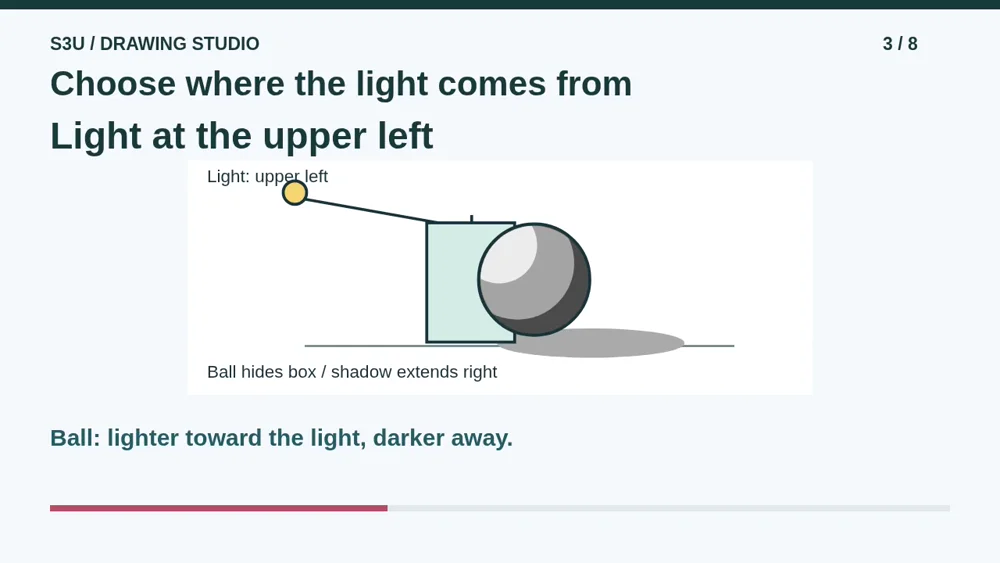
In this example the light comes from the upper left. We place a lighter region on that side of the matte ball and a darker region toward the lower right. A middle region connects them. The sharp bands make our three-value plan easy to see; real lighting can have softer changes and reflections.
4. Look for a hidden edge
Video: 1:07
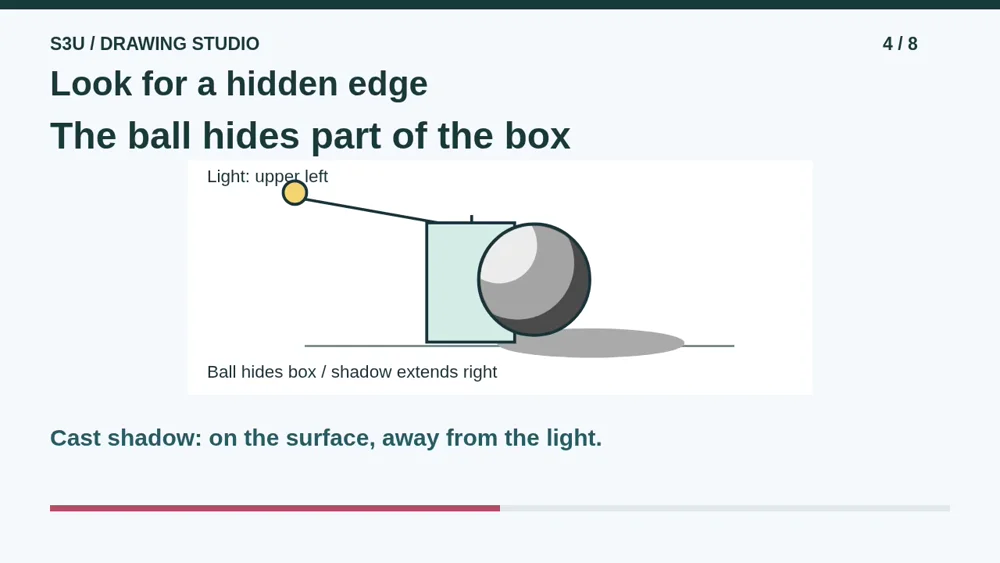
The ball covers part of the box edge, so it appears in front in this opaque-shape model. Do not decide from size alone. Notice the cast shadow on the surface toward the right, away from the light. That shadow is separate from the darker region drawn on the ball itself.
5. Pause: change the arrangement
Video: 1:27
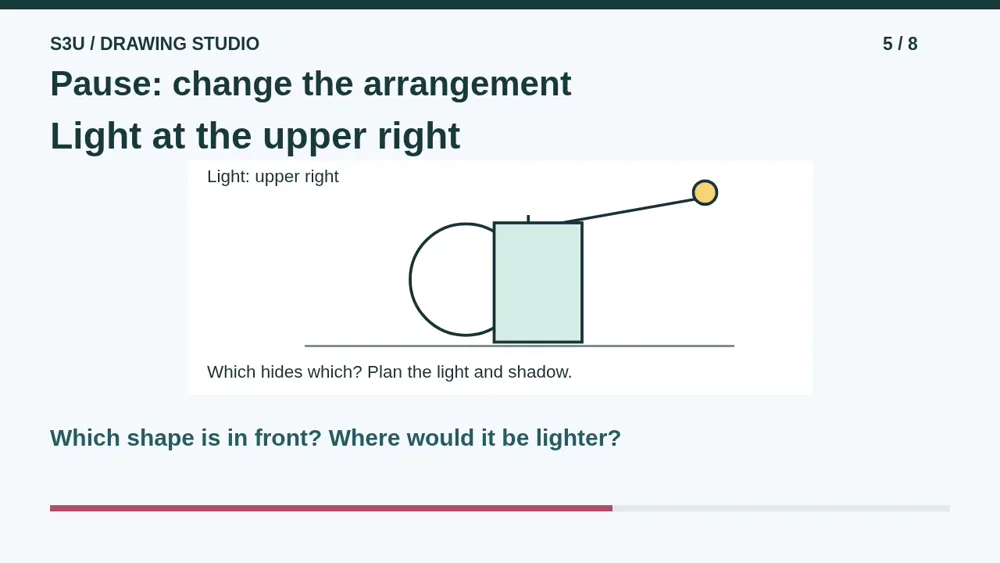
Pause for a new arrangement. Now the box hides part of the ball, and the light comes from the upper right. Which shape appears in front? Which side of the ball would you make lighter in our simple model? Where would you place a cast shadow on the surface? Explain the clues, not just a guess.
6. Check the new clues
Video: 1:49
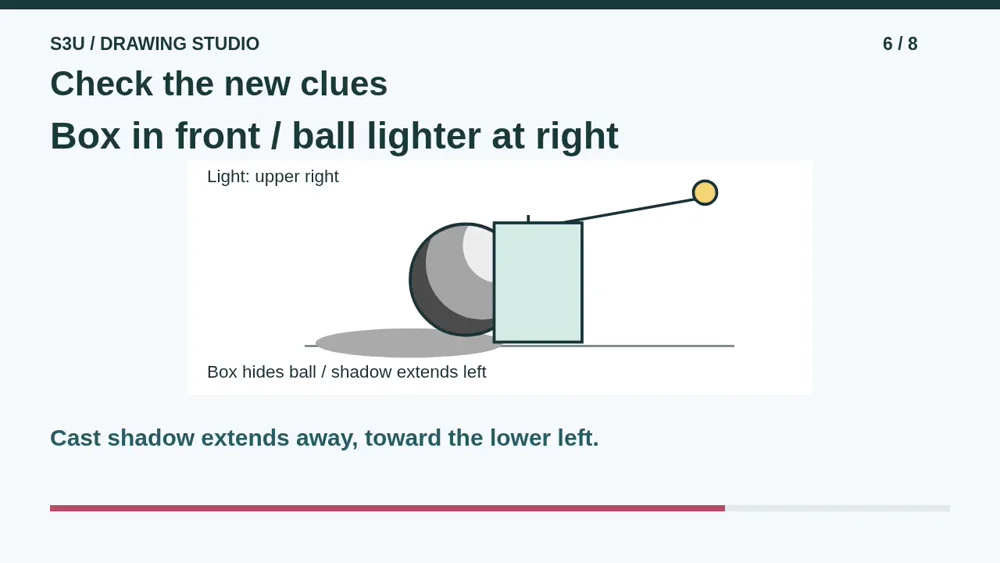
The box appears in front because its visible edge hides part of the ball. With the light at the upper right, we make the ball lighter toward that light and darker toward the lower left. Its cast shadow extends away across the surface toward the left. The overlap and light clues answer different questions.
7. An edge can tell a story
Video: 2:11
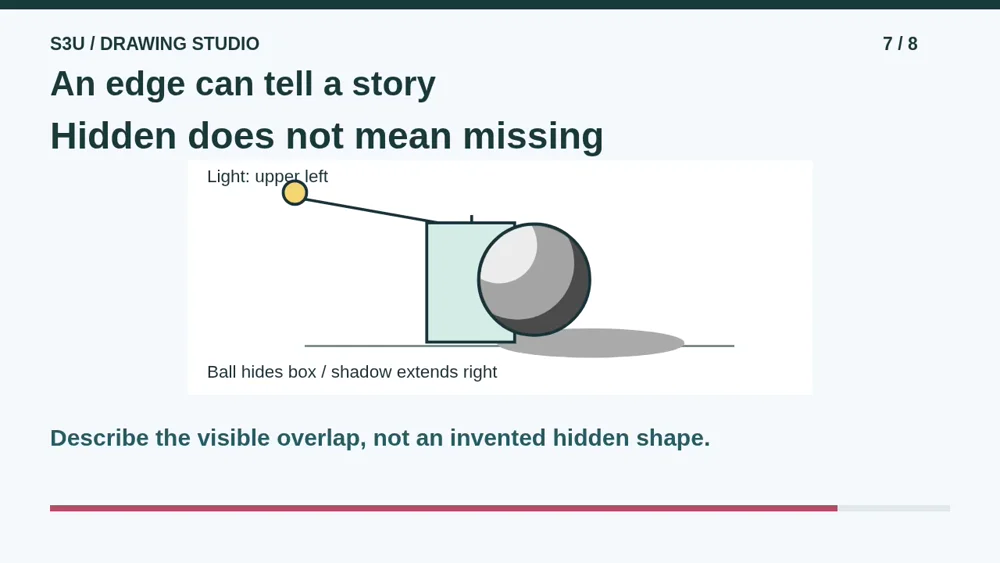
Fun fact: a viewer can infer that part of a drawn object continues behind another even when the hidden lines are not drawn. But the picture does not prove exactly what every hidden part looks like. A box can keep a little mystery without filing any paperwork.
8. Try a pencil still life
Video: 2:31
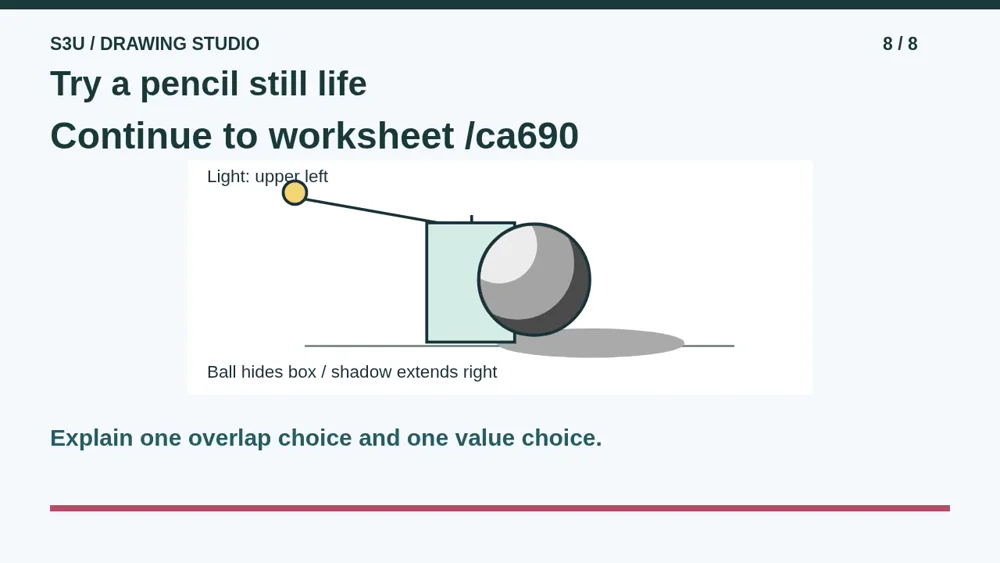
Continue to the worksheet below. Its example returns to upper-left light and a ball in front of a box. Make three labeled value patches, then use them in your own drawing. Explain one hidden edge and one light or dark region. You may describe your plan instead of drawing. No upload or single preferred art style is required.
Show your understanding
You can point, explain aloud, draw or write.
- Explain a three-value plan using the stated light direction, distinguishing shading on an object from a cast shadow.
- Use an opaque shape hiding an edge to explain which shape appears in front, without relying on size alone.
Try it yourself
Pause at upper-right light and the box covering the ball. Explain the front shape, the lighter side, and the cast shadow direction.
Continue to the worksheet, which returns to upper-left light. Explain one overlap choice and one value choice; a drawing or spoken plan is welcome.
Next: your worksheet
Use Value and Overlap for Depthhttps://s3u.com/ca690
Lesson: https://s3u.com/lessons/light-dark-and-overlap